
How to Do a Check Engine Light Reset on Your Honda (And When You Shouldn't)
If the Check Engine light just appeared on your dashboard, you're probably wondering what to do next. A check engine light reset on a Honda is something many drivers can handle on their own - but only under the right circumstances. Here's a look at how the process works and when it's better to let a professional take over in Bellevue, WA.
What the Check Engine Light Means
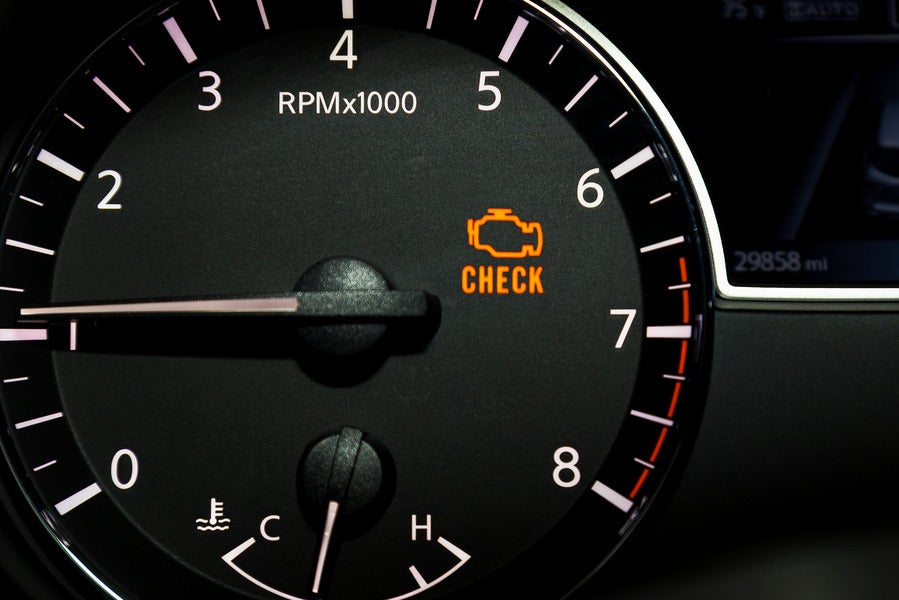
Before resetting anything, it helps to understand what triggered the light. Your Honda's onboard diagnostic system continuously monitors components like the engine, transmission, and emissions controls. When it detects something outside normal parameters, it stores a diagnostic trouble code and illuminates the check engine light.
That light can signal anything from a loose gas cap to a misfiring engine. Knowing how to turn off the check engine light is useful, but understanding why it came on is equally important.
How to Reset the Check Engine Light on Your Honda - Step by Step
Here is how to perform a basic check engine light reset on most modern Honda vehicles.
Step 1 - Check and tighten the gas cap. A loose or faulty gas cap is one of the most common triggers. Turn it clockwise until you hear a click. After a few drive cycles, the light may turn off on its own.
Step 2 - Use an OBD-II scanner. Purchase or borrow an OBD-II scanner, which plugs into the diagnostic port located under the driver-side dashboard. Turn the ignition to the "on" position without starting the engine. Follow the scanner's prompts to read and clear the stored code.
Step 3 - Disconnect the battery (older method). On some older Honda models, you can disconnect the negative battery terminal for about 15 minutes. This clears the vehicle's memory and resets the light. Note that this also clears other settings, including your radio presets and trip data.
Step 4 - Confirm that the light is off. After clearing the code, start the vehicle and drive normally. If the light stays off after several drive cycles, the issue was likely minor and is now resolved.
When It's Safe to Reset the Check Engine Light Yourself
Knowing how to turn off the check engine light is helpful, but a reset only makes sense in specific situations. It is generally reasonable to try a reset on your own if your Honda is running and driving normally, the light is solid rather than flashing, the gas cap was loose and has since been tightened, and no unusual sounds, smells, or performance changes are present.
In those cases, the underlying issue may have been temporary or minor. A check engine light reset can confirm that by seeing whether the light returns.
When You Should Bring Your Honda in for Service
Resetting the check engine light by yourself is not always the right move. There are clear signs that a professional diagnosis is needed instead.
If the check engine light is flashing or blinking, that typically indicates an active misfire that can damage your catalytic converter. Do not attempt a reset - reduce speed and bring the vehicle in right away.
You should also head to a service center if the light comes back on shortly after being cleared, if you notice rough idling or hesitation, if there are unusual odors like burning or fuel, or if other warning lights are on at the same time.
Drivers in Bellevue, WA, have access to certified Honda technicians at Honda Auto Center of Bellevue who can run a full diagnostic, identify the root cause, and make sure the repair is done correctly.
Visit Honda Auto Center of Bellevue for Expert Diagnosis
Knowing how to reset a check engine light can be useful - but it is not a substitute for understanding what triggered the warning in the first place. If your Honda's light keeps returning or you're unsure about the cause, let the service experts at Honda Auto Center of Bellevue help. Schedule a service appointment online and get the accurate diagnosis your Honda deserves.